Are you ready to take your automotive skills to the next level? Removing an engine might sound like a daunting task, but with the right guidance and the help of an engine crane, it's a rewarding DIY project that can save you time and money.
In this step-by-step tutorial, we'll walk you through the process of removing an engine using an engine crane. Get ready to roll up your sleeves and discover the satisfaction of doing it yourself!
Preparing for Engine Removal
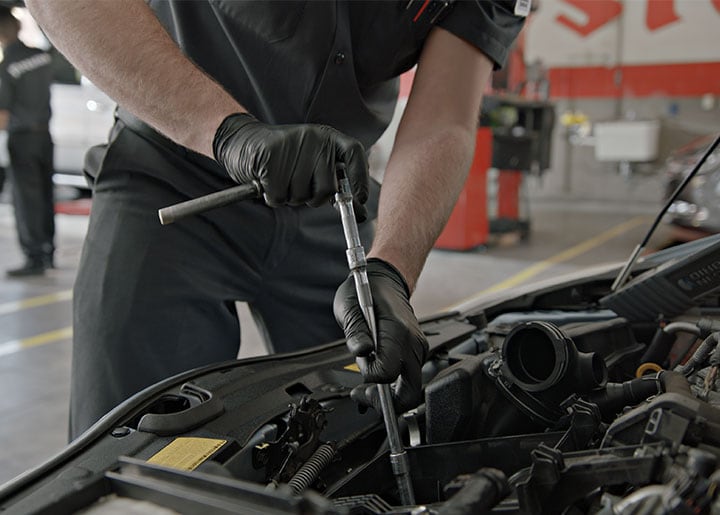
Before diving into engine removal, proper preparation is essential. Collect the tools you'll need, such as wrenches, pliers, and safety gear like gloves and goggles. Ensure you have a clean, well-organized workspace free from clutter.
Assessing Your Engine and Vehicle
 Start by assessing your engine and vehicle. Identify and disconnect components like hoses, wiring, and exhaust. Document these connections with labels or photographs to ease reassembly later. Make sure you're familiar with your engine and its layout.
Choosing the Right Engine Crane
 Selecting the right engine crane is a critical step. Consider the weight and size of your engine. A heavy-duty engine crane is suitable for most projects. Set up the crane according to the manufacturer's instructions, ensuring it's stable and secure.
If you haven't found the perfect engine crane for your DIY projects yet, it might be time to explore our range of engine cranes!
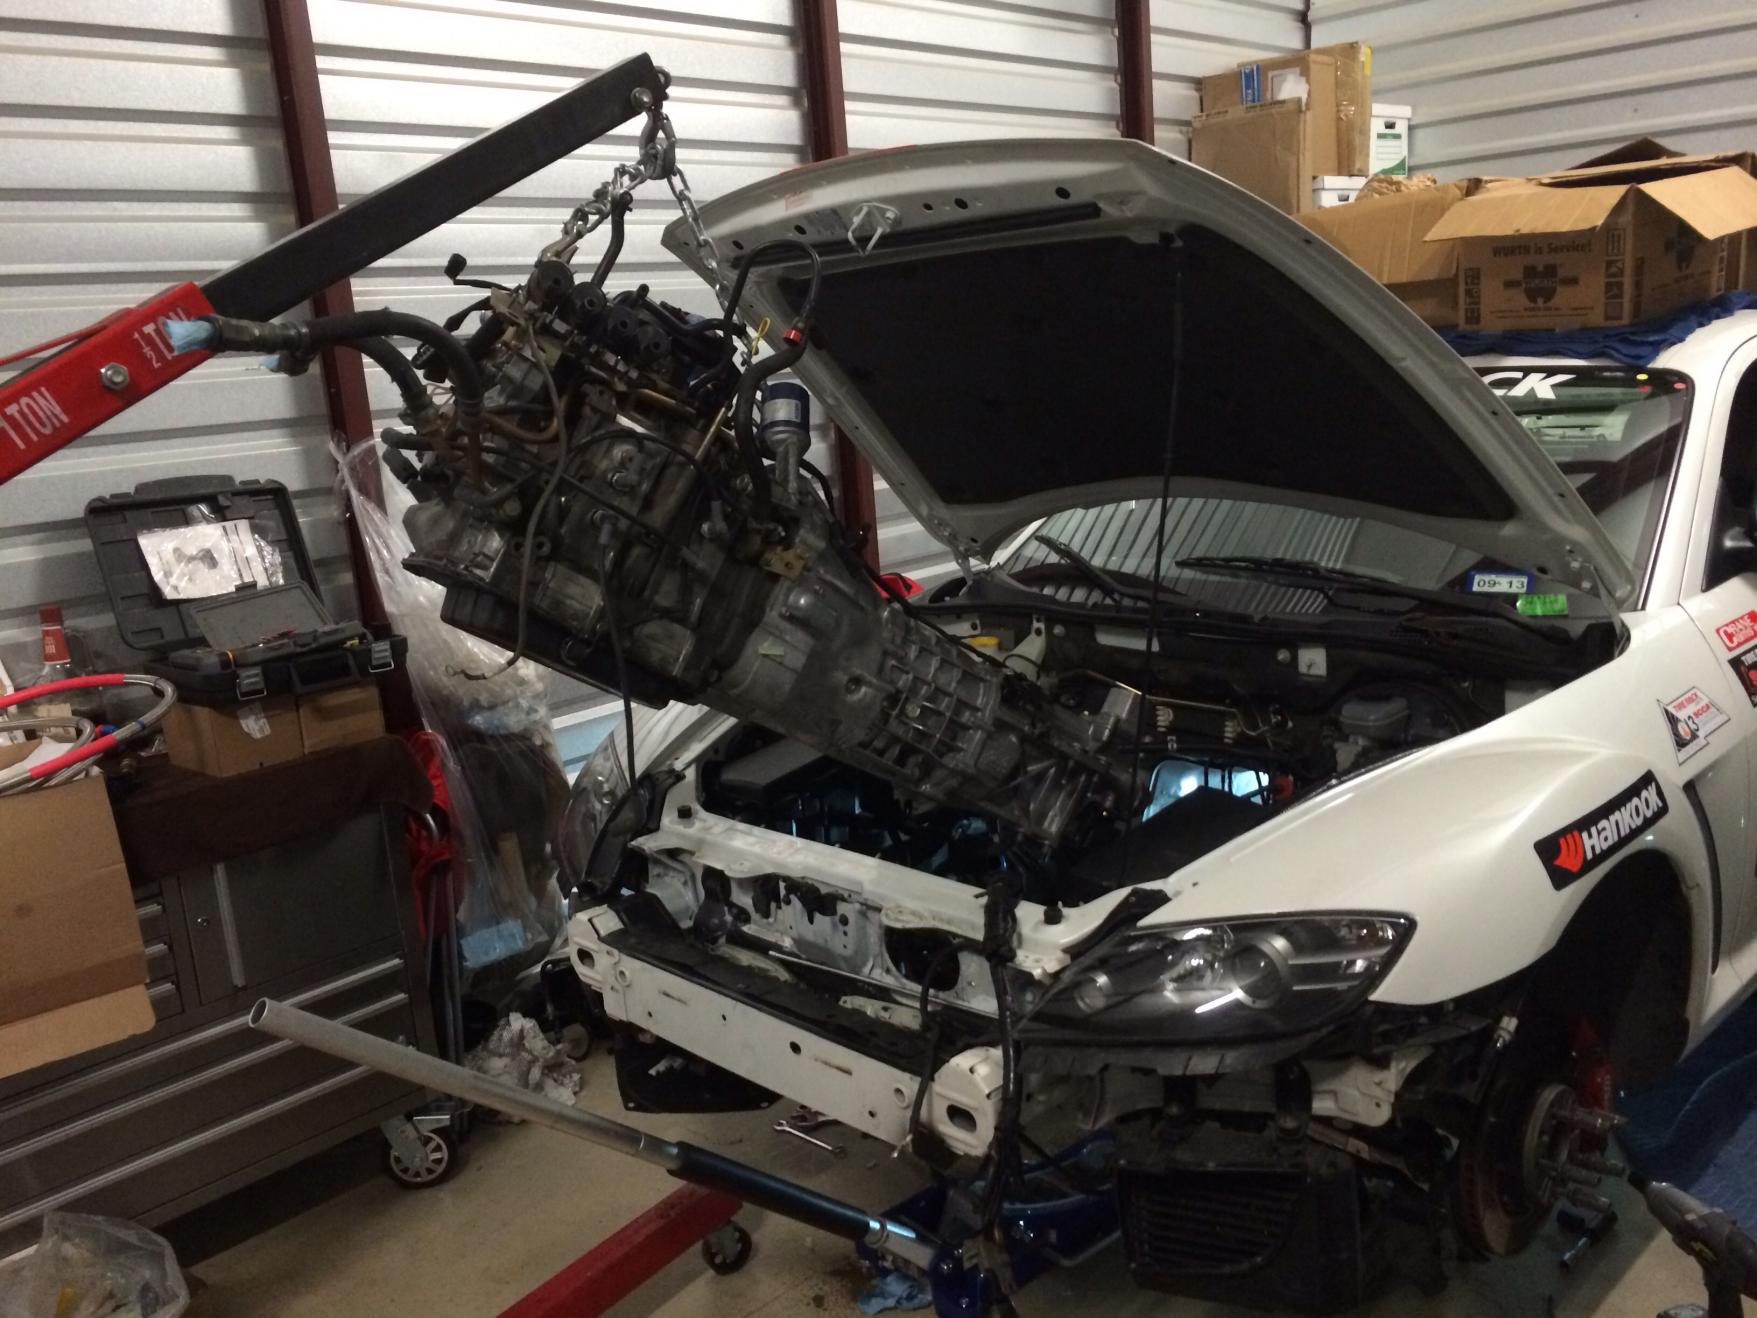
Engine Removal Step-by-Step
Now comes the exciting part: engine removal! Follow these steps:
- Secure the engine crane's hook or attachment to the engine.
- Detach engine mounts and any remaining connections to the vehicle.
- Slowly and carefully lift the engine, ensuring it remains level.
- Double-check for any overlooked connections or obstacles.
- Once the engine is clear, lower it to the ground or a suitable storage area.
Handling and Storing the Engine
Handle the engine with care when lowering it. Protect delicate components from damage. Store the engine in a safe and clean environment, shielded from dirt and moisture. Proper labeling and organization are key to easy reinstallation.
Reassembly and Testing
 Reinstallation is the reverse of removal.
Ensure you secure all connections and align everything properly. Double-check your work. After reassembly, it's time to test the engine. Start it up and listen for any unusual sounds.
Address any issues before finalizing the installation.
Safety Considerations
Safety should be your top priority throughout the DIY engine removal process. Use appropriate safety gear, work methodically, and avoid taking unnecessary risks. Be cautious when handling heavy engine components, and seek help if needed.
Troubleshooting and Common Challenges
Despite careful planning, you might encounter challenges. Stubborn bolts, tight spaces, or unexpected issues can arise. Don't hesitate to troubleshoot and seek solutions. When in doubt, consult with experienced DIYers or professionals.
Congratulations! You've successfully completed a DIY engine removal using an engine crane. By following this step-by-step guide and taking safety seriously, you've demonstrated that tackling such projects can be a rewarding and cost-effective endeavor.
If you want to explore the various accessories available for an engine crane for easy lifting, be sure to check out the related article.
Remember, practice makes perfect, so don't be afraid to take on more DIY automotive tasks in the future.