Every driver dreads this scenario: you turn the key, and instead of the engine roaring to life, silence greets you. If your car battery dies, don't worry. You can save yourself by learning how to use a battery charger to jump-start it.
In this step-by-step guide, we'll walk you through the process of reviving your car's heart and getting back on the road. With a battery charger on hand and a little know-how, you'll be ready to tackle this common automotive challenge.
Why Use a Battery Charger for Jump-Starting
You can jump-start a car battery in various ways, but using a battery charger offers distinct advantages.
- Safety and Convenience: Battery chargers are safer and more controlled for jump-starting than traditional cable methods. You won't need to rely on the kindness of strangers or another running vehicle.
- No Need for Another Vehicle: Battery chargers can be used without needing another vehicle, unlike conventional jump-starting. This makes it a valuable skill for solo drivers.
- Reduced Risk of Damage: Chargers protect your car's electrical system from harm caused by wrong cable connections or power surges when jump-starting.
Tools and Equipment You'll Need
Before diving into the jump-starting process, gather the necessary tools and equipment:
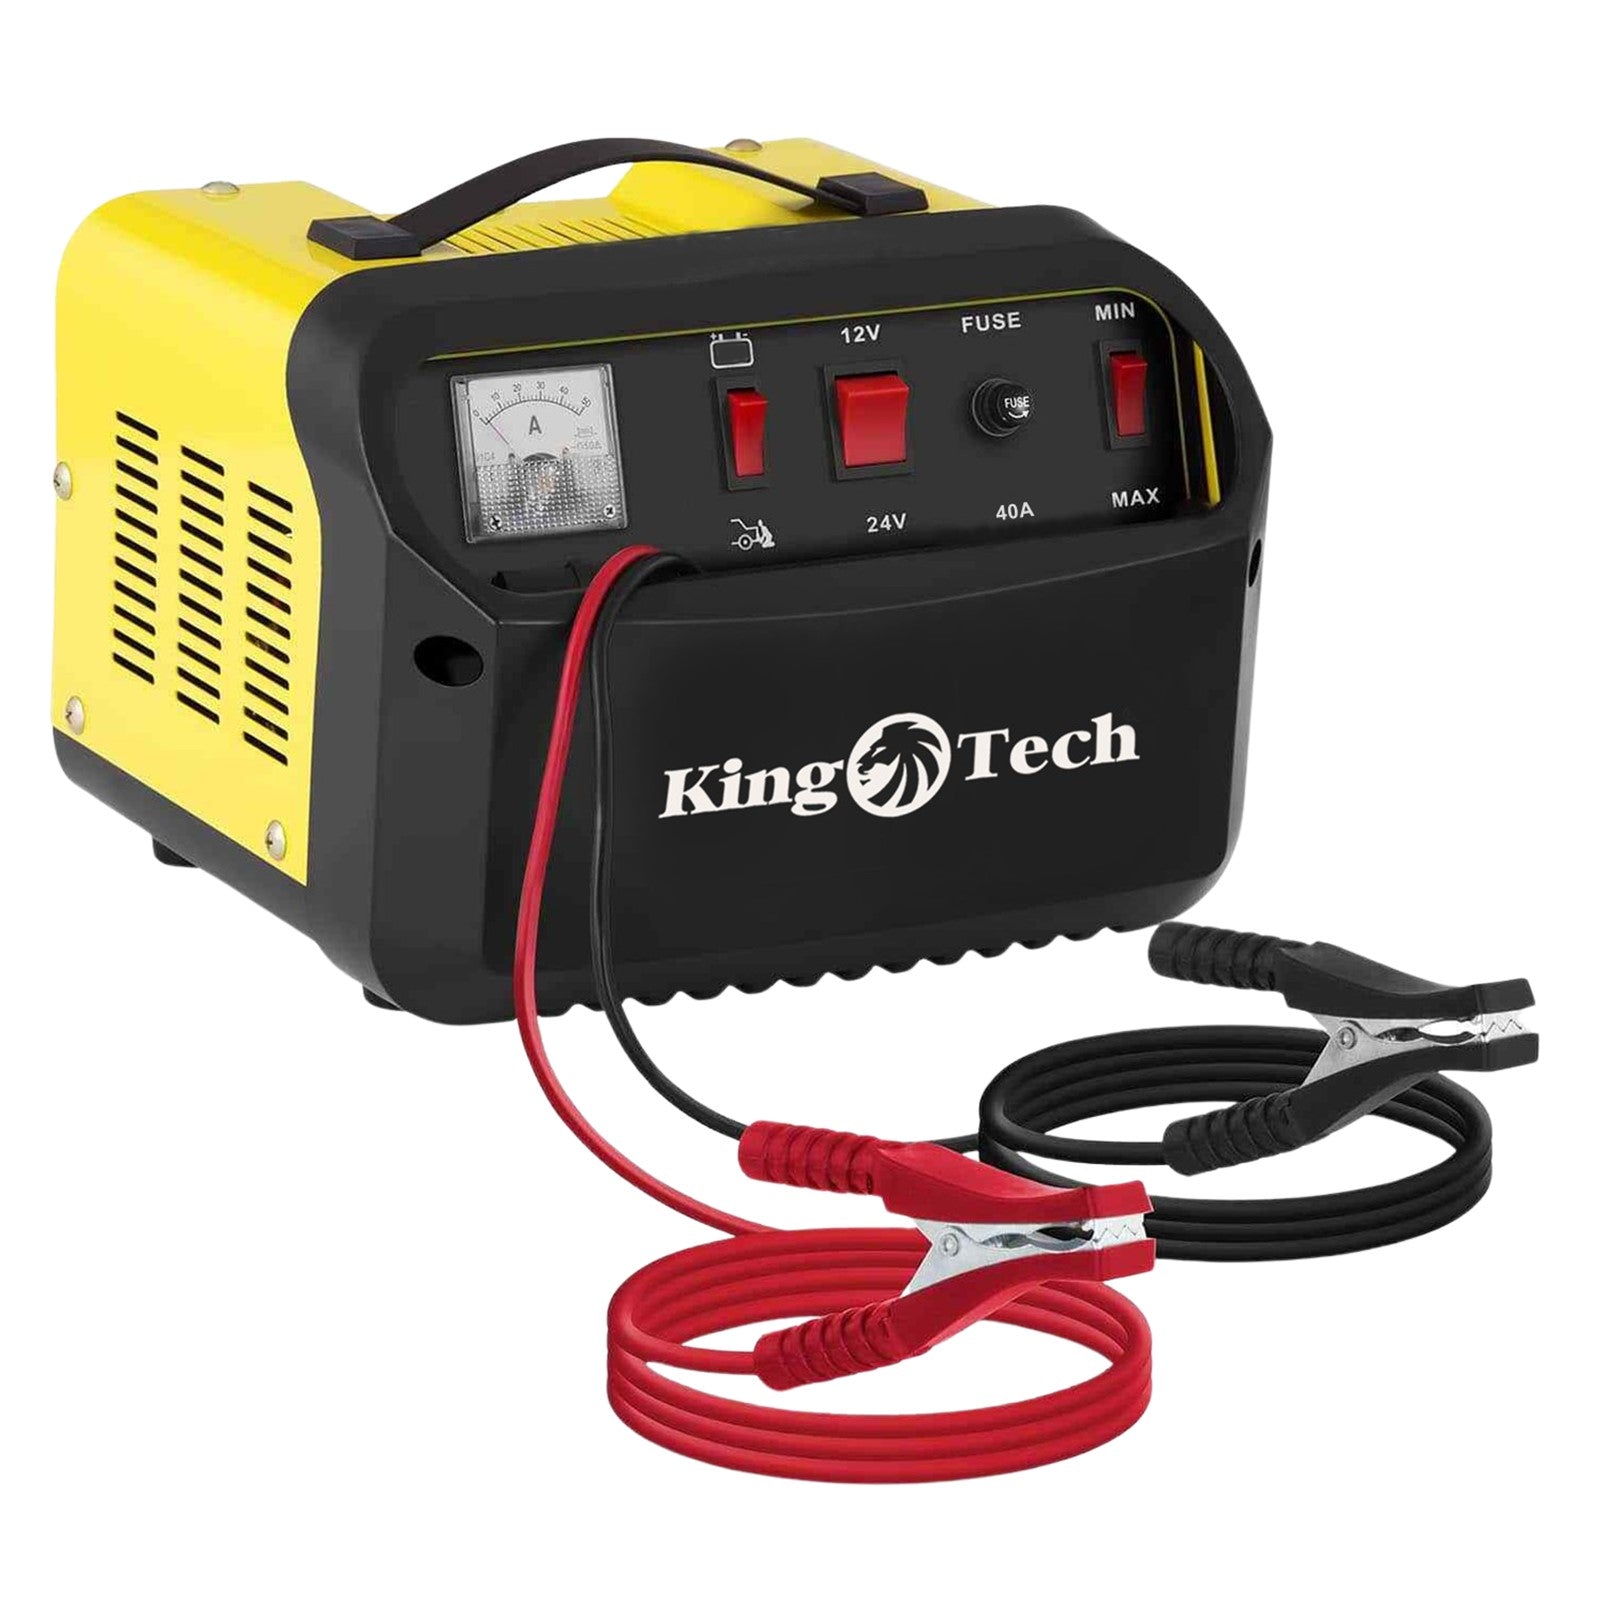
2IN1 Car Battery Charger Jump Starter DX55
- Battery Charger: Select a good battery charger for your car's battery, with options for voltage and amperage control.
- Safety Gear: Invest in safety goggles and gloves to protect your eyes and hands from battery acid and sparks.
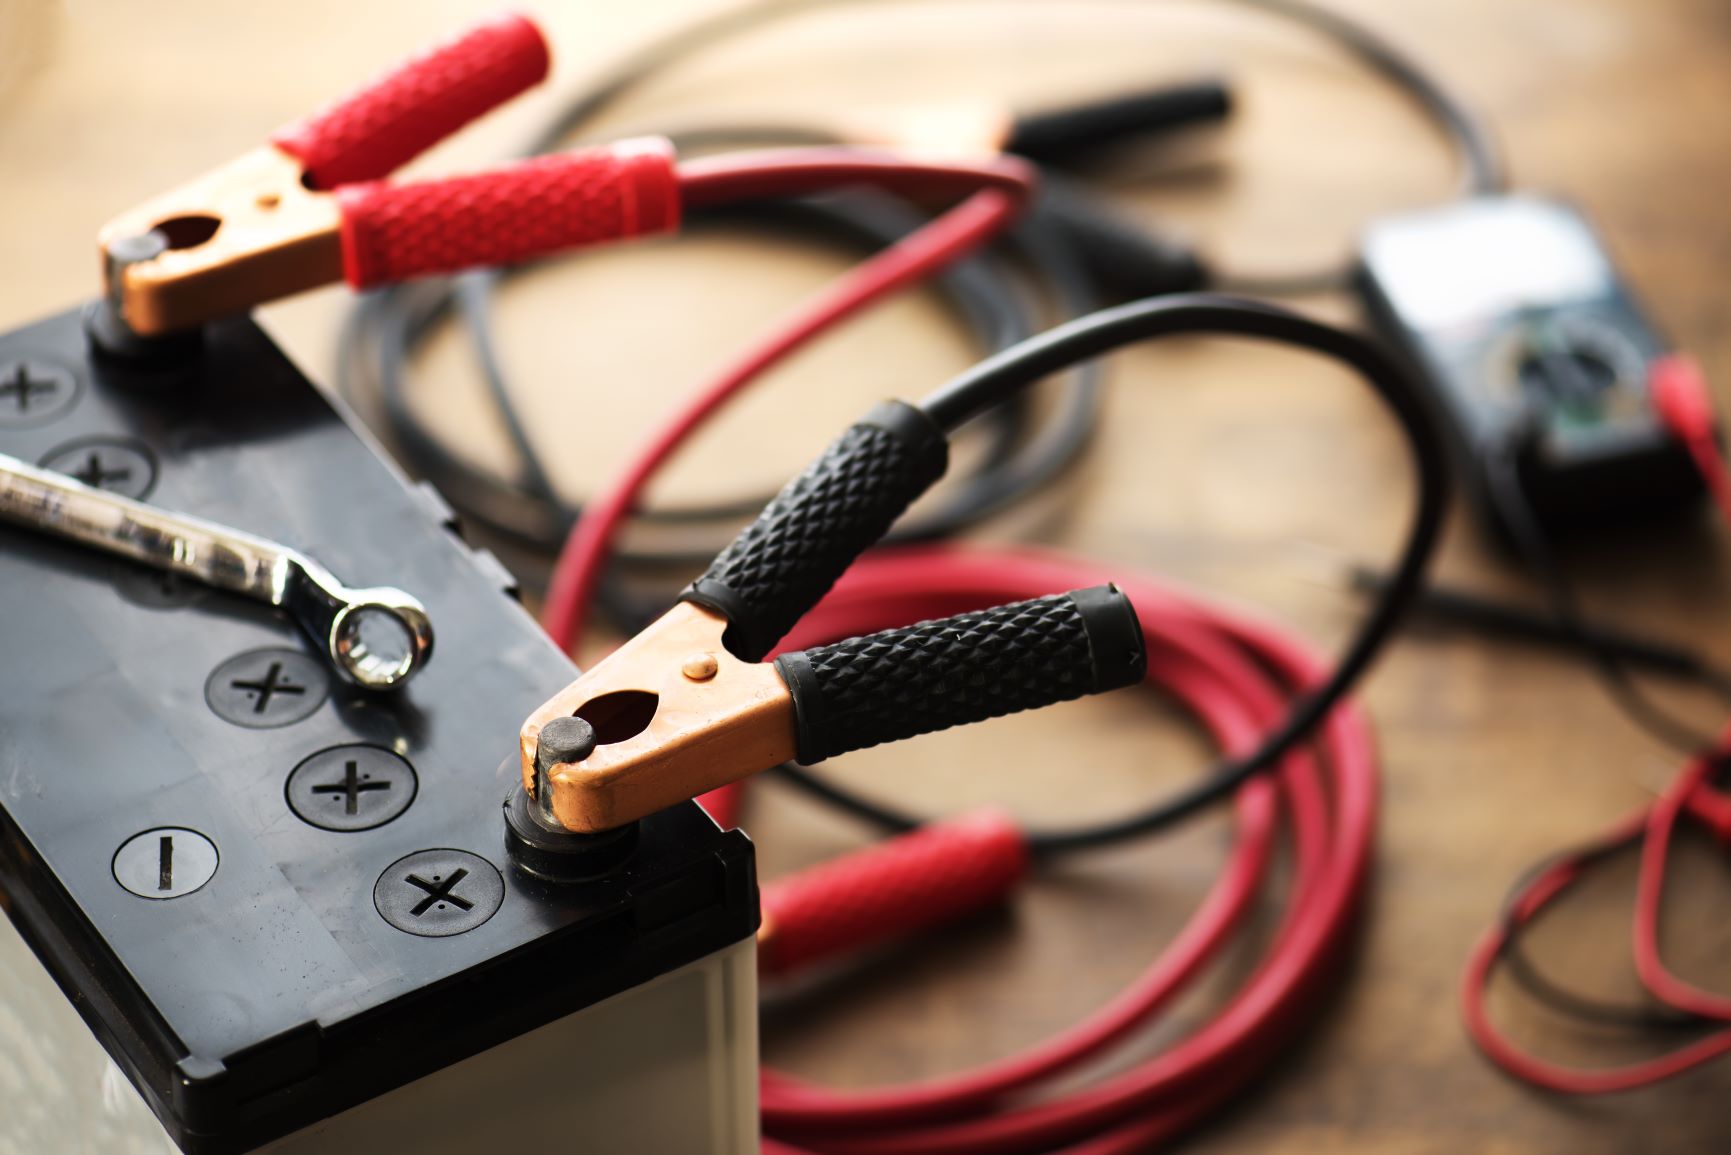
- Jumper Cables:It's a good idea to have jumper cables in case you need to connect the battery charger to the car's terminals.
- Wrench: You may need a wrench to loosen and tighten the battery cable connections.
Preparing the Battery Charger
Before connecting the battery charger, make sure you have properly set it up.
- Plug it In: Connect the charger to a power source, ensuring it's securely plugged in.
- Voltage and Amperage Settings: Adjust the charger's voltage settings based on your car's battery type (lead-acid, AGM, gel cell, etc.). Select the appropriate charging mode and amperage for your battery.
Safety Precautions
Safety is paramount when working with a car battery:
- Proper Ventilation: Work in a well-ventilated area or outdoors to avoid inhaling toxic battery fumes.
- Safety Gear: Wear safety goggles and gloves to protect your eyes and hands.
- Clean, Dry Workspace: Ensure the workspace is clean and dry to avoid accidents caused by spills and slippery surfaces.
Connecting the Charger to the Car Battery
Now let's get down to the nitty-gritty of connecting the battery charger to your car's battery:
- Step 1: Start by locating your car's battery. Manufacturers usually put them under the hood, but they can also be in the trunk or other places. Check your car's manual if you're not sure.
- Step 2: Ensure that you turn off the charger before making any connections.
- Step 3: Attach the charger's positive (red) clamp to the positive terminal of the car battery. Typically, a "+" marks this terminal.
- Step 4: Connect the charger's negative (black) clamp to the negative terminal of the car battery. Typically, a "-" marks this terminal.
- Step 5: Double-check the connections to ensure they are secure and not loose. Loose connections can lead to sparks and accidents.
Charging the Battery

With the battery charger properly connected, you're ready to start charging:
- Step 1: Turn on the battery charger. Follow the manufacturer's instructions to select the appropriate charging mode and amperage based on your battery type and condition.
- Step 2: Monitor the charger's progress. It may take some time to charge a completely dead battery, so be patient.
- Step 3: While the battery is charging, periodically check the charger to ensure it's operating correctly and safely.
Testing and Starting the Car
Once the charger has done its job, it's time to test and start your car:
- Step 1: After a suitable charging time, turn off the charger and unplug it from the power source.
- Step 2: Carefully disconnect the charger's clamps from the battery terminals. Remove the negative (black) clamp first and then the positive (red) clamp.
- Step 3: Perform a voltage test to check the battery's charge level. A fully charged battery should read around 12.6 volts. If it's significantly below this, it may require additional charging.
- Step 4: If the voltage is satisfactory, attempt to start the car. If the engine turns over, congratulations – you've successfully jump-started your car with a battery charger!
Post-Jump-Start Checks and Tips
After successfully jump-starting your car, there are a few additional steps to take:
- Check the Alternator: To prevent future battery issues, it's a good idea to check your car's alternator. A malfunctioning alternator can lead to a drained battery.
- Battery Maintenance: Regularly check and maintain your car battery to ensure its longevity. Clean the terminals, ensure they are secure, and keep the battery clean and free from corrosion.
- Preventive Measures: If you don't use your vehicle often, it is recommended to get a battery maintainer or tender. This will help keep your car battery charged and in good condition.
Starting a car battery with a charger may seem hard, but with the right tools and some knowledge, it's doable. Knowing how to jump-start your car can save you time, money, and stress in emergencies.
With this guide, you can safely deal with a dead car battery, get back on the road, and help others. Just follow the steps and take precautions.
With your newfound skills, you're well-prepared to tackle the challenge of a dead car battery, no matter where your journey takes you.