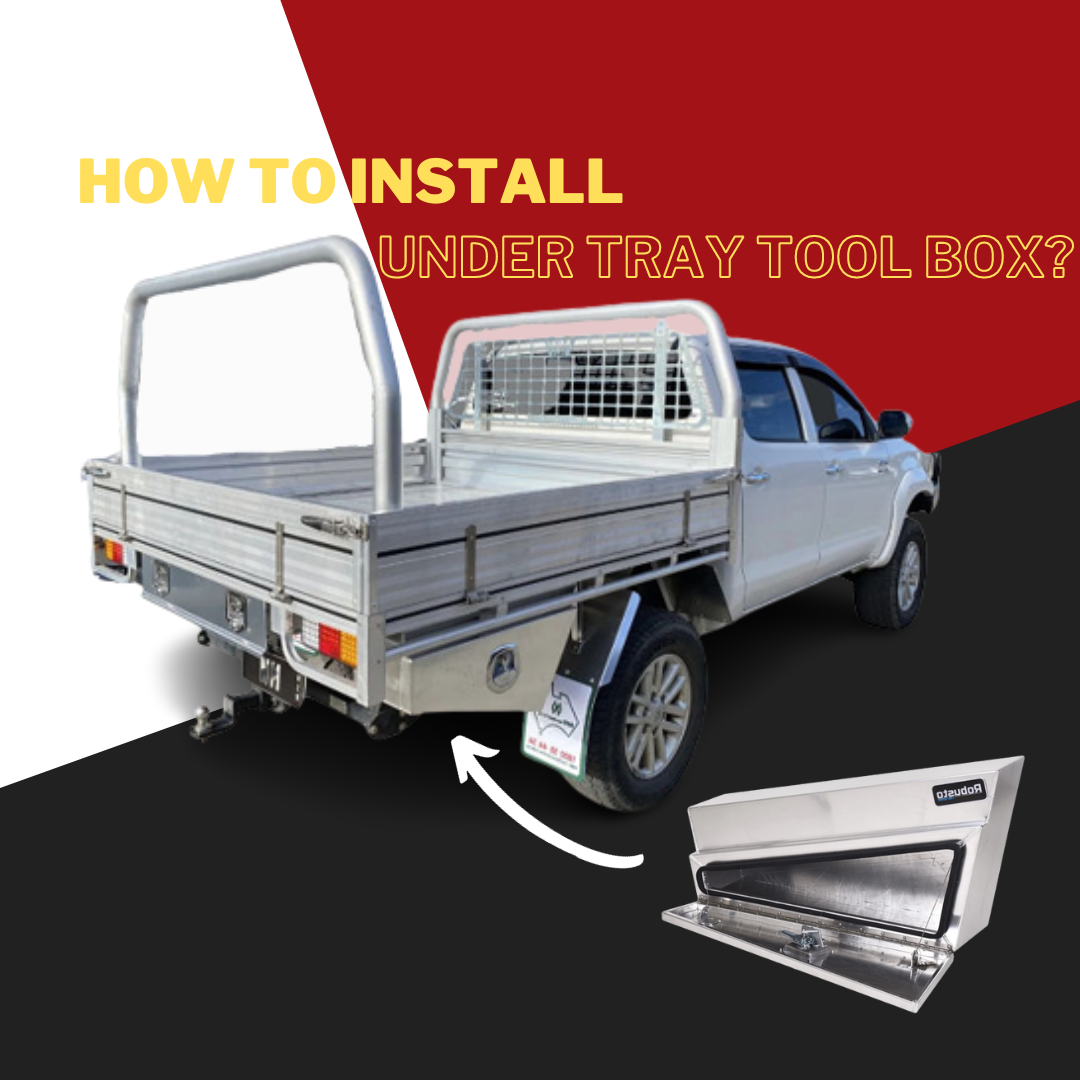
Adding an under tray tool box to your vehicle can significantly enhance your storage space and organization capabilities. This versatile toolbox offers a convenient solution for providing extra storage for your tools and equipment. In this article, we'll guide you through the installation process, making it easy for you to enjoy the benefits of an under tray toolbox. With some basic tools and a bit of patience, you can have this valuable accessory securely installed in no time.
Tools and Materials You'll Need
Before we dive into the installation process, let's make sure you have all the necessary tools and materials:
Tools:
- Screwdriver or drill with appropriate bits
- Wrench or socket set 🔧
- Measuring tape 📏
- Level
- Pencil or marker ✏️
- Safety gloves and goggles 🧤
Materials:
- Under tray tool box (ensure it's the right size for your vehicle)
- Mounting hardware (usually provided with the tool box)
- Mounting brackets (if not included)
Step-by-Step Guide
Choose the Installation Location
Start by selecting the ideal location for your under tray tool box. Consider factors such as accessibility, clearance, and the weight distribution of your tools.
Common placement options include under the truck bed or trailer. However, the exact spot may vary depending on your vehicle's design and your specific needs. Make sure the chosen spot does not interfere with the vehicle's exhaust, suspension, or any other components.
Prepare Your Vehicle
Clean the chosen installation area thoroughly to ensure a secure fit. Remove any dirt, debris, or rust that might interfere with the installation process.
Position the Tool Box
Place the under tray tool box in your chosen location. Use a level to ensure it's perfectly horizontal or sloped as needed (to prevent water buildup).
Using your measuring tape and marker, measure and mark the hole positions for the mounting brackets on the vehicle's undercarriage. Ensure that the marks are accurate and evenly spaced to provide secure support for the tool box.
Drill Mounting Holes
Carefully drill holes in the marked locations. The size of the holes should match the diameter of the mounting hardware provided with the tool box. It's crucial to use the correct bit size to ensure a snug fit for the mounting hardware. Be cautious and wear safety gear during this step.
Attach Mounting Brackets
Secure the mounting brackets (if included), to the bottom of the toolbox using the provided hardware. Ensure they align with the holes you drilled in the previous step.
Install the Tool Box
Position the tool box back in place, aligning the holes in the mounting brackets with the holes drilled in your vehicle. Insert the provided bolts or screws through the holes and tighten them securely with a wrench or screwdriver.
Final Adjustments
Double-check the level of the tool box and make any necessary adjustments to ensure it's securely mounted and water-tight. Ensure that all mounting hardware is tightened properly.
Test for Security
Give the tool box a gentle shake to make sure it's securely fastened. It should not move or wobble. Test the latches or locks to ensure they function correctly.
You've successfully completed the installation of your under tray tool box. Now, you can enjoy the convenience of having your tools and equipment organized and easily accessible whenever you need them.
Want to explore a range of high-quality under tray tool boxes suitable for your vehicle? Check out our aluminium and steel under tray tool boxes. Upgrade your vehicle's storage capacity today and make your next project or adventure more organized and efficient.


